Total.js from beginner perspective

Document management applications are essential tools for businesses and organizations to efficiently manage their documents, files, and data. Total.js is a popular web application framework that offers a range of features and tools to build robust and scalable applications.
In this tutorial blog post, we will guide you through the process of building a document management application using Total.js. We will cover the basics of setting up Total.js, designing the database schema, building the RESTful API, and implementing file upload, download and remove functionalities.
By the end of this tutorial, you will have a solid understanding of how to build a document management application using Total.js, which you can then customize and adapt to your specific needs. So, let's get started! 🚀
What is TotalJs and Why?
TotalJs is an open-source web application framework for Node.js that follows the Model-View-Controller (MVC) architecture pattern. It offers a range of features, such as server-side rendering, real-time communication, and RESTful routing, that allow developers to create scalable and efficient web applications. With a modular architecture, Total.js enables developers to build applications in a modular way, making it easier to maintain and scale their codebase. It also supports real-time communication using WebSockets, making it suitable for developing real-time applications. Total.js is flexible, allowing developers to customize the framework to their specific needs. Additionally, Total.js provides extensive documentation, making it easy for developers to get started and learn the framework. Overall, Total.js is an excellent choice for building modern, scalable, and efficient
How to set up a new project?
Before we start building our document management application, we need to set up Total.js. Here's how you can do it:
install node.js on your local machine
create an empty folder
 # This will create a folder named filer
 mkdir filer
initialize the npm package.json boilerplate
 # This initiate npm package.json file
 cd filer && npm init -y
Launch your first project
After you've bootstrapped your project, you can now launch it:
install required dependencies:
 npm install total4
 # this is all the dependencies we need right now
launch the server
 # we create a file named index.js and we require total4 in the file, that will served on port 3000
 echo "require('total4/debug')({port: 3000})" >> index.js
 # We launch the server now
 node ./index.js
create the views to get feedback from your web browser
In the root of your project, create a folder named
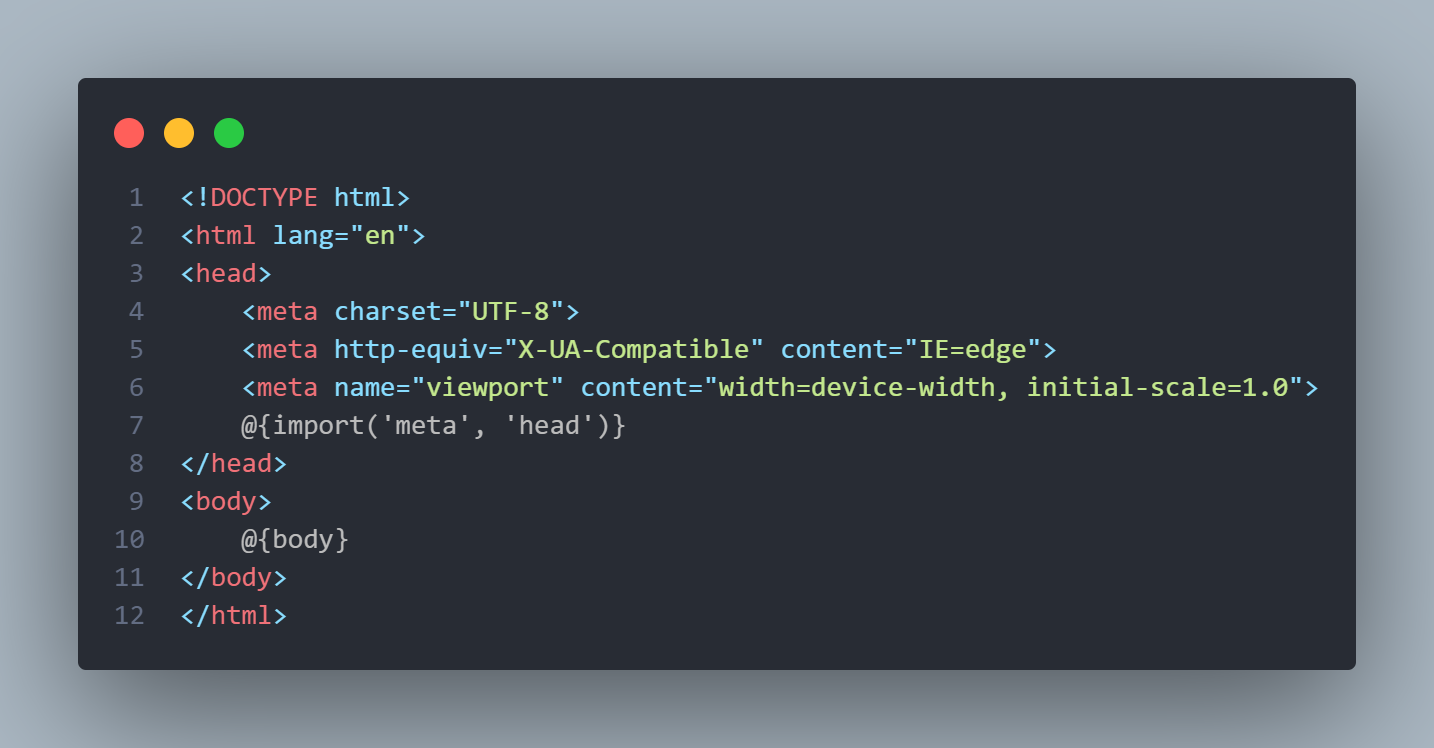
viewsand inside this folder create two files, one namedlayout.htmland another namedindex.html. In thelayout.htmlfile, you just need to boilerplate the HTML basic stuff of meta, link and so on. In the head tag, you can also include the following code@{import('meta', 'head')}. In the body tag, you need to include the following code.@{body}. After that, you just need to add some content you want in theindex.htmlfilecreate the route for the root of the project. To do so, create a folder in the root of your project and name it
controllers. In this controllers folder, create a file namedfiles.js, and place the following code inside the newly created fileYou can read more about the route in the docs
  // This is the route for the root of the project
  exports.install = () => {
    ROUTE('GET /');
  };

- open your browser and navigate to
http://localhost:3000/
Project tree structure
Now let's explain what all these bunch of files and folders mean.
Here's the project structure
├── controllers
│   └── files.js
├── node_modules
├── public
│   ├── downloads
├── tmp
│   └──
├── views
│   └── layout.html
│   └── index.html
├── index.js
├── index.js.json
├── index.pid
├── package.json
├── package-lock.json
the
controllersfolder represents theCpart of theMVCarchitecture. In this folder, we'll be defining routes and code logic. For those who already know Laravel, this folder is equivalent to theroutesand theApp\Http\Controllers\folders. See how things are easier in TotalJs 🙂the
publicfolder is used to store static files such as.css,.js,imagefiles, etc. In this folder, we will store our uploaded files.the
tmpfolder is for storing temporary files. We don't need it at this stage.the
viewsfolder will contain all the views, and.htmlof the project. This folder represents theVin theMVCarchitectureamong the other files,
index.jsis the entry point of any total.js project and is one of the most important filesalong with these folders, some folders can be added, such as
schemas,databaseswhile building a complex project. We will add some folders when we'll need to perform certain operations
Note 📝 In this template, we do not see the
Mpart of theMVC. Normally, it's represented by a folder namedschemas. We will add this folder when building schemas
Building the backend
Good to know 👓 A schema, is what we usually call a
modelin another framework like Laravel, Django and so on
The backend of our document management application will handle the data storage, retrieval, as well as removal logic.
Now, let's start the fun part 🏄♂️
- Designing the database schema:
Note 📝 It's not mandatory to create the schema for this project, but because we want to explore much about the framework, we will use schemas
First, we need to design the database schema for our application. For this purpose we will create a folder named schemas at the root of our project and inside it create a file named files.js
mkdir schemas && touch ./schemas/files.js
# now the MVC architecture is complete since we created the schemas folder
- Creating the database We will be using NoSQL as our database, which is the best database format for our use case, as explained in the total.js docs. For this purpose, create a folder named
databasesand inside that folder create a file namedfiles.nosql. The NoSQL is a SQL like file. It will hold every entry representing a file uploaded information as an object.
mkdir databases && touch ./databases/files.nosql
Now, let's start coding. Open the files.js file and add the following code
// schemas/files.js
NEWSCHEMA('File', function(schema) {
schema.define('f_name', 'String(64)');
schema.define('f_extension', 'String(8)');
schema.define('f_path', 'String(128)');
schema.define('f_size', 'String(64)');
This will create a schema-like model in Laravel named The file has fields f_name, f_extension, f_path, f_size. These fields are all of the string type(varchar under some other conventions). Now let's add some actions to the schema so that we can perform some queries.
Now we define the action for getting all the files.
...
// update the above code and add the following code just bellow the last definition of the schemas
 schema.action('query', {
  // The action param is the function that need to be called when the method is called
  action: function($) {
    // we declare a variable db that will hold the database
   var db = DB().find('nosql/files');
    // we define the fields that we want to get from the database
   db.fields('id,f_name,f_extension,f_path,f_size,dtcreated');
    // we sort the entries by the date
   db.sort('dtcreated_desc');
    // we return a callback that holds all the retreived entries
   db.callback($.callback);
  }
 });
Now let's define the action for storing an uploaded file
...
// update the above code and add the following code just bellow the last action of the schema
 schema.action('create', {
  action: async function($, model) {
    var file = $files[0]
  // we set the file name to the name of the file
   model.f_name = file.filename;
  //  we let each entry have a random entry ID
   model.id = UID();
  //  we set the file uploaded time to the current date
   model.dtcreated = NOW;
  //  we define the file extension to be the one we've uploaded
   model.f_extension = file.f_extension;
  //  we retreive get the size of the file and set it also as the f_extension value
   model.f_size = file.f_size;
  //  we set the path of the file to be in the public/downloads/file_name.extension
 model.f_path = PATH.public(`/downloads/${file.filename}`);
//  we insert the uploaded file informations in the database
await DB().insert('nosql/files', model).promise($);
//  after that we try to get the file content and save it in the public folder of our current directory
   await F.Fs.readFile(file.path, function (error, content) {
    if (error) { $.invalid(error); return; }
    F.Fs.writeFile(PATH.public(`/downloads/${file.filename}`), content, function () {
      $.success()
    })
   });

 });
Now we define the action for removing a file.
...
// update the above code and add the following code just bellow the last action of the schemas
 schema.action('remove', {
    // first we just make a precision that this action will be taking a parametter of type UID
  params: 'id:UID',
  action: async function ($) {
    // We just assign the parametter to a params var to make things easier to use
   var params = $.params;
    //  we try to find the file based on his id and we excecute a callback based on the return
   DB().one('nosql/files').where('id', params.id).callback((error, response) => {
    //  if we get an error, we just return an error
    if (error) { $.invalid(error); return; }
    // otherwise we remove the file based on his id
    DB().remove('nosql/files').id(params.id)
    // and we delete the file from the public folder
    PATH.unlink(response.f_path);
   });
    //  after all we just return a success message
   $.success(params.id);
  }
 });
)}
Because we defined the actions for the schema, we need to update the routes that map each action of the schema.
We could have defined all the routes in the default.js file, but because we want clean code, we will create a separate file to hold all routes for the schema of the file Open the controllers folder, create a new file named files.js and add the following code inside that new file
// controllers/files.js
exports.install = function() {
    // Method       /Route              *Model --> Action,  Flag(optinal),  FileUpload max-size
 ROUTE('GET         /');
 ROUTE('GET         /files              *File --> query');
 ROUTE('POST        /file/upload/       *File --> insert',  ['upload'],     1024 * 100);
 ROUTE('GET         /file/details/{id}  *File --> read');
 ROUTE('DELETE      /file/remove/{id}   *File --> remove');
}
What does it mean?
We create a route /files with the GET method that maps to the query action in the File schema, the action that receives all files and displays them. To see the result, we'll navigate to http://localhost:3000/files and we will be seeing all the uploaded files as a json response.
The second route is the insert action that is being called, to let's upload a file to the public folder. Note that the method used is the POST method because we need to encrypt the uploaded files as multipart/form-data. We add a flag indicating that we have to upload files with a max-size of 1024*100 = 100Mo
The third route for letting us see file information based on his id.
The last one is the remove file route, which let us remove a file based on its ID.
Note 📝 At this moment, we did not define the download function, because we will be doing it directly in the controller as a function.
Let's create the download action while we are here To do so, here are the steps to follow
- Create a function in the files.js Here is the content we need to include in the file.
// File : controllers/files.js

// we create a function named download that take one parameter
function download(id) {
  // we define a query builder for letting us use make queries easier
 var query_builder = NOSQL('files').one();
  //  we collect the file where the id is identical to what we passed as param
 query_builder.where('id', id).callback(function (error, response) {
  // if we encounter any error, we return it and we break the function flow
  if(error){ this.invalid(error); return}
  // otherwise, we get the file based on its path
  this.res.file(response.f_path, response.f_name);
 });
}
- We can now update the routes to map the download route For this purpose, update the
controllers/files.jsfile bellow
// controllers/files.js
exports.install = function () {
 ROUTE('GET /');
 ROUTE('GET /files *Files -->query');
 ROUTE('POST /file/upload/ *Files --> create', ['upload'], 1024 * 100);
 ROUTE('GET /file/details/{id} *Files -->read');
 ROUTE('DELETE /file/remove/{id} *Files -->remove');
 ROUTE('GET /file/download/{id}', download);
//  we add the download route, that maps to the download function in the current file
}

// now create the download function just below
function download(id) {
  // we are querying the database the find the file needed based on the id
 var query_builder = NOSQL('files').one();
 query_builder.where('id', id).callback(function (err, response) {
  //  and we then get the file from its folder and just save it
  this.res.file(response.f_path, response.f_name);
 });
}
Before we go further on, I just want to mention that we built this project and served it as an API. We could also add and build it with some TotalJs components because TotalJs is a client-side framework too. In our next blog, we will use the total.js component. Because we served this project as an API end-point, we are going to show you some outputs of the current project. For this use case, we are using ThunderClient a VsCode extension for querying our endpoints

Useful Links:


